The Livechat widget is a lightweight chat interface that you embed directly into your website. It enables visitors to start a conversation with your team in real time, without leaving the website page. It can serve as an excellent tool for use cases such as:
Offering live and real-time support to customers/users.
Gathering information directly from people interacting with your website chatbot.
This guide details the steps required to install the Livechat widget on your website.
Prerequisites
Before the widget can load, you must authorize the domain where it will reside. This security measure prevents unauthorized sites from using your chat service.
Go to Manage
 > Workspace > Settings > Omnichannel > Livechat.
Add your domain to the Livechat Allowed Domains field. Make sure to exclude https:// or any trailing slashes (/) from the domain entry.
Click Save Changes.
By configuring this setting correctly, you authorize the Livechat widget to function on your specified domain.
Install livechat widget
To add the widget to your website, you need to embed a JavaScript snippet into your website's HTML.
Go to Manage
> Omnichannel > Livechat Installation.Copy the provided code snippet.
Paste the snippet into your website's HTML, immediately before the closing
</body>tag.Example snippet:
<!-- Start of Rocket.Chat Livechat Script -->
	<script type="text/javascript">
	(function(w, d, s, u) {
		w.RocketChat = function(c) { w.RocketChat._.push(c) }; w.RocketChat._ = []; w.RocketChat.url = u;
		var h = d.getElementsByTagName(s)[0], j = d.createElement(s);
		j.async = true; j.src = 'https://<your-rocketchat-workspace-domain>/livechat/rocketchat-livechat.min.js?_=201903270000';
		h.parentNode.insertBefore(j, h);
	})(window, document, 'script', 'https://<your-rocketchat-workspace-domain>/livechat');
	</script>
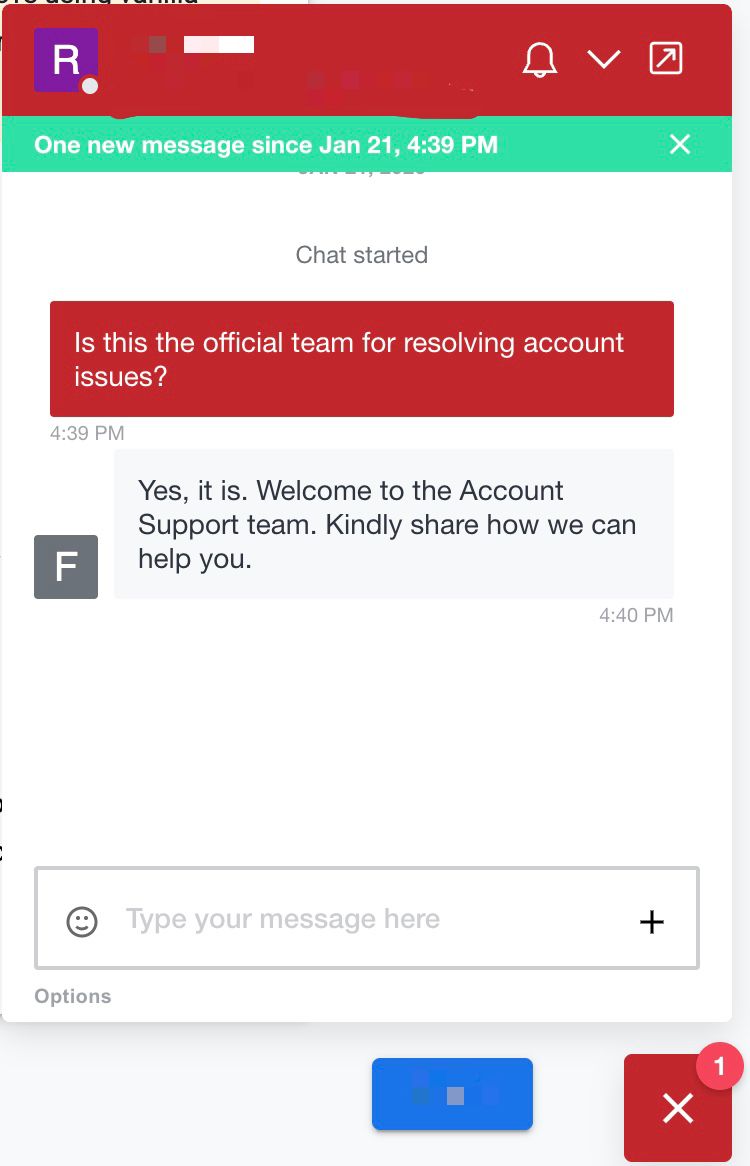
Once added, the Livechat widget ![]() is displayed at the bottom-right corner of your website. Visitors can click it to initiate a conversation instantly with your team.
is displayed at the bottom-right corner of your website. Visitors can click it to initiate a conversation instantly with your team.
You can enhance the widget’s behavior by attaching additional methods to the installation script. Refer to the Livechat Widget API for supported methods and usage examples.
Troubleshoot Livechat widget installation
If you have issues displaying the Livechat widget, check your browser developer console to examine the details of any errors you might be experiencing.
Here are some common issues and how to fix it:
Failed to read 'localStorage' properly from Window

This usually occurs when third-party cookies are blocked. Try another browser or update your cookie settings to allow third-party storage.
Trying to access localhost:3000
Review the Site URL setting under Manage
> Workspace > Settings > General and the server name setting on your reverse proxy (if you have one) to guarantee they are all aligned and correspond to the same URL used in your Livechat widget installation script.Livechat doesn't show OR Content Security Policy directive violation

Go to Manage
> Workspace > Settings > Omnichannel > Livechat Verify that your domain is present in the Livechat Allowed Domains field. Make sure to exclude https:// or any trailing slashes (/) from the domain entry.
Next steps
With the Livechat widget successfully installed on your website, you can now customize its functionality and visual appearance.
Livechat settings: See how to manage the overall operational settings and routing logic of the Livechat service.
Customize widget appearance: Learn how to modify the visual appearance of the widget to align with your brand colors.