This guide walks you through deploying the Rocket.Chat AI pipeline server and Mongo connector to index your Rocket.Chat workspace for AI-powered search and retrieval.
What you’ll deploy
Rocket.Chat AI pipeline server: The core AI platform that powers the Retrieval-Augmented Generation (RAG) pipeline, APIs, dashboard, vector database integration, model orchestration, and supporting services. It is deployed using two Helm charts:
foundation4ai-core: Deploys foundational services, including Redis, NATS JetStream, Prometheus, and the stateful database backend.foundation4ai: Deploys the API server, background workers, administrative dashboard, and database migrations.
Mongo connector: Synchronizes your Rocket.Chat workspace with the AI pipeline server by indexing historical and live workspace data for the RAG pipeline.
Prerequisites
Before deploying the Rocket.Chat AI pipeline server and Mongo connector, ensure your environment meets the following requirements:
kubectl, helm, kustomize, yq, just
You can install these tools on Linux with these commands:
sudo snap install --edge --classic just
sudo snap install helm --classic
sudo snap install yq
curl -LO "https://dl.k8s.io/release/$(curl -L -s https://dl.k8s.io/release/stable.txt)/bin/linux/amd64/kubectl"
sudo install -o root -g root -m 0755 kubectl /usr/local/bin/kubectl
curl -s "https://raw.githubusercontent.com/kubernetes-sigs/kustomize/master/hack/install_kustomize.sh" | bash
sudo mv kustomize /usr/local/bin/kustomize
A working kubernetes cluster with a default StorageClass
Verify your existing cluster and storage class:
kubectl get nodes
kubectl get storageclass
An image source with the deployment assets:
Signed S3 bundle: A time-limited download link provided by Rocket.Chat containing the deployment images.
Amazon ECR: Access to the Amazon Elastic Container Registry provisioned by Rocket.Chat.
Custom registry: Images hosted in your own OCI-compatible container registry.
A supported method for exposing traffic:
An Ingress controller (NGINX or Traefik)
Gateway API
Choose a deployment method
After completing the prerequisites, choose one of the tabs below to continue.
Interactive deployment: Use the guided
setup.shscript to automate image ingestion, secret generation, licensing, and deployment of the RAI pipeline server and Mongo connector. It's recommended for POC deployments, small-scale test environments, and requires minimal technical knowledge.Manual deployment: Deploy Rocket.Chat AI Pipeline and the Mongo Connector manually using the provided Helm charts. This approach provides full control over the deployment configuration and infrastructure, making it suitable for production environments, air-gapped systems, and customized Kubernetes deployments. It’s intended for administrators with strong technical experience.
The interactive deployment uses the setup.sh script to guide you through deploying pipeline server and the Mongo connector. The script validates your environment at each step. If an error occurs, it displays diagnostic information in the terminal and writes a timestamped log (foundation4ai-setup-<timestamp>.log) to the current directory.
Step 1: Clone the setup repository
Clone the Rocket.Chat Rocket.Chat AI pipeline setup repository and change to the project directory.
git clone https://github.com/RocketChat/Docs.F4.RAG.git
cd Docs.F4.RAG
Step 2: Run the setup script
Start the interactive deployment by running:
./setup.shIf the deployment directory with the required Helm charts is not already present, the script attempts to clone it before proceeding. You’ll be required to provide your Github credentials.
The script then validates your environment by checking that all required tools are installed and your Kubernetes cluster is accessible. If any tool is missing, the script exits and displays the appropriate installation command for your operating system.
If no reachable Kubernetes cluster is found, the script prompts you to install k3s. If you accept, it installs k3s, configures your Kubernetes context, and verifies cluster connectivity before continuing.
Step 3: Choose an image source
Choose how the Rocket.Chat AI pipeline server and Mongo connector images will be made available to your Kubernetes cluster. Select one of the following image sources:
Amazon ECR: Pull images directly from Amazon Elastic Container Registry (ECR). Choose this option if Rocket.Chat has provisioned ECR access for your deployment.
Signed S3 bundle: Download and import the signed image bundle provided by Rocket.Chat. Choose this option if Rocket.Chat has provided the URL to a signed S3 bundle.
Custom registry: Pull images from your own OCI-compatible container registry, such as Harbor, GitHub Container Registry (GHCR), or Docker Hub.
Using a signed S3 bundle
If you choose the signed S3 bundle, the script asks whether the deployment bundle is already available on your machine.
Enter Yes if the bundle is already on your machine, then provide its path.
Enter No if you need to download it, then paste the signed S3 URL provided by Rocket.Chat. The script downloads and verifies the archive, extracts its contents, and locates the required images and connector assets automatically.
If unzip is not installed on your machine, the script prompts you to install it automatically.
Step 4: Load container images into your cluster
After fetching the images, select how they should be loaded into your Kubernetes cluster. Choose one of the following options:
Docker daemon: Loads the images into your local Docker daemon so they can be tagged and pushed to a private container registry.
kind: Loads the images directly into a local kind cluster.
Minikube: Loads the images into a local Minikube cluster.
k3s/containerd: Imports the images directly into the native containerd image store.
If you're deploying from a signed S3 bundle, the images are configured with
imagePullPolicy: Never. Ensure the required images are loaded onto every Kubernetes node that will run Foundation4AI or Mongo Connector, as Kubernetes will not attempt to pull them from a remote registry.
Once the images are loaded, the script updates foundation4ai.values.yaml with the correct image references.
Step 5. Configure the database
Choose the PostgreSQL database that Foundation4AI will use. Select one of the following options:
External PostgreSQL: Connects Foundation4AI to an existing PostgreSQL database with the
pgvectorextension installed. This is the recommended option for production deployments.Internal PostgreSQL: Deploys a PostgreSQL instance in your Kubernetes cluster using the bundled Helm chart. This option is intended for evaluation and non-production environments.
If you choose the internal PostgreSQL deployment, the script prompts you to configure credentials for the database super user and application user. It generates secure passwords by default, which you can accept or replace with your own values.
Save these credentials securely, as they are required to manage the database after deployment.
Step 6. Generate application secrets
The setup script generates the application secrets required by Foundation4AI and writes them to foundation4ai.secrets.env. During this step, the script displays the following credentials:
Master API Key
Master Secret
Save them immediately because they are displayed only once and are required to authenticate API requests to Foundation4AI.
Step 7. Deploy Foundation4AI
After generating the secrets and applying them to the cluster, the setup script deploys Foundation4AI in two stages:
It deploys the
foundation4ai-coreHelm chart, which installs the shared infrastructure required by the platform, including NATS, Redis, and Prometheus.Once those services are ready, it deploys the
foundation4aiHelm chart, which installs the Foundation4AI platform services.
While deploying foundation4ai, the script displays your System ID and prompts you for a license key:
Send the System ID to Rocket.Chat to obtain your RAI pipeline license.
Paste the license key you recieved where prompted.
The script validates the license, updates the deployment, and completes the installation.
If you don't have a license yet, you can skip this step and activate it later by updating foundation4ai.secrets.env and running:
just create-secrets
just deploy-core
just deploy
After the license is applied, the script waits for all Foundation4AI services to become ready before displaying the deployment status.
Step 8: Deploy the Mongo Connector
After deploying Foundation4AI, choose whether to deploy the Mongo connector:
If you choose to continue, enter a domain name to access the connector from. Otherwise, leave the field blank to access the connector using port forwarding, which is suitable for local development and testing.
The domain name must resolve to your server IP address.
After the deployment completes, save the following credentials:
API Key: Used to authenticate requests to the Mongo Connector API.
Encryption Key: Used to encrypt data managed by the connector.
You'll need these credentials later when configuring the Mongo Connector to connect to your Rocket.Chat workspace.
Step 9. Access Rocket.Chat AI pipeline
After the deployment completes, access the Foundation4AI API and dashboard using one of the following methods:
Option 1: Ingress
A domain name is required and must resolve to your server's IP address.
If your cluster uses an ingress controller,
Go to
foundation4ai-deploymentdirectory, open thefoundation4ai.values.yamland update the ingress configuration:ingress: enabled: true className: "traefik" # or "nginx", depending on your controller annotations: {} hosts: - host: <your-domain.com> paths: - path: / pathType: Prefix tls: - secretName: foundation4ai-tls hosts: - <your-domain.com>Update the
className,annotations,hostnames, andTLS settingsto match your environment.Replace <your-domain.com> with your configured domain.
Redeploy Foundation4AI:
just deploy
After the deployment completes, access Foundation4AI using the domain configured in the ingress section:
API: http://<your-domain.com>
Dashboard: https://<your-domain.com>/dashboard
Replace <your-domain.com> with your configured domain.
Option 2: Portforwarding
To expose Foundation4AI internally for quick tests, run these commands on seperate terminals:
kubectl -n foundation4ai port-forward svc/foundation4ai-api-server 8000:80
kubectl -n foundation4ai port-forward svc/foundation4ai-dashboard 3000:80
Once both commands are running, access Foundation4AI :
API:
http://localhost:8000Dashboard:
http://localhost:3000
Option 3: Gateway API HTTPRoute
A domain name is required and must resolve to your server's IP address.
If your cluster uses the Kubernetes Gateway API,
Go to
foundation4ai-deploymentdirectory, open thefoundation4ai.values.yamland update the ingress configuration:ingress: enabled: false httpRoute: enabled: true annotations: {} parentRefs: - name: foundation4ai sectionName: https hostnames: - <your-domain.com>The referenced Gateway must already exist,
parentRefs.namemust match its name, andsectionNamemust match its HTTPS listener name. Replace <your-domain.com> with your configured domain.After updating the values file, redeploy Foundation4AI.
just deploy
After the deployment completes, access Foundation4AI using the hostname configured in the httpRoute section:
API: http://<your-domain.com>
Dashboard: https://<your-domain.com>/dashboard
Replace <your-domain.com> with your configured domain.
Log in to the Rocket.Chat AI pipeline server dashboard
Open the Rocket.Chat AI pipeline server dashboard in your browser:
If you're using port forwarding, navigate to
http://localhost:3000.If you configured ingress or Gateway API, go to
https://<your-domain>/dashboard.
Sign in using the Master API Key and Master Secret generated during Step 6. After signing in, the Rocket.Chat AI pipeline server dashboard opens.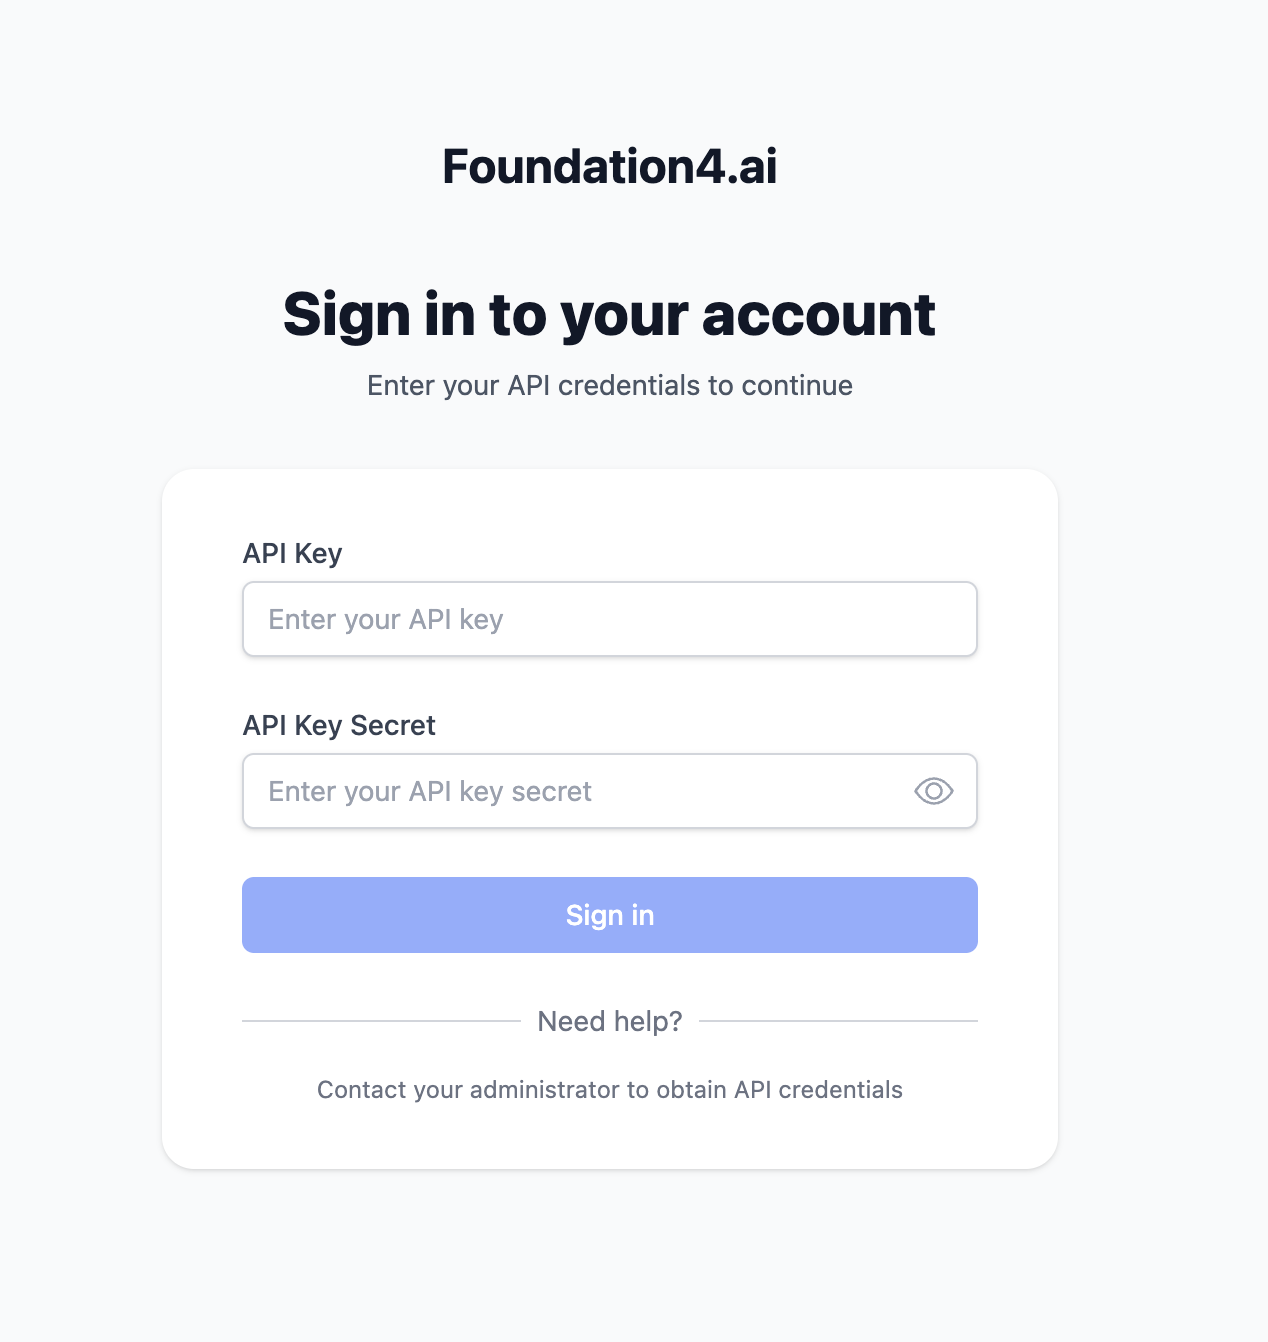
Access the Mongo Connector dashboard
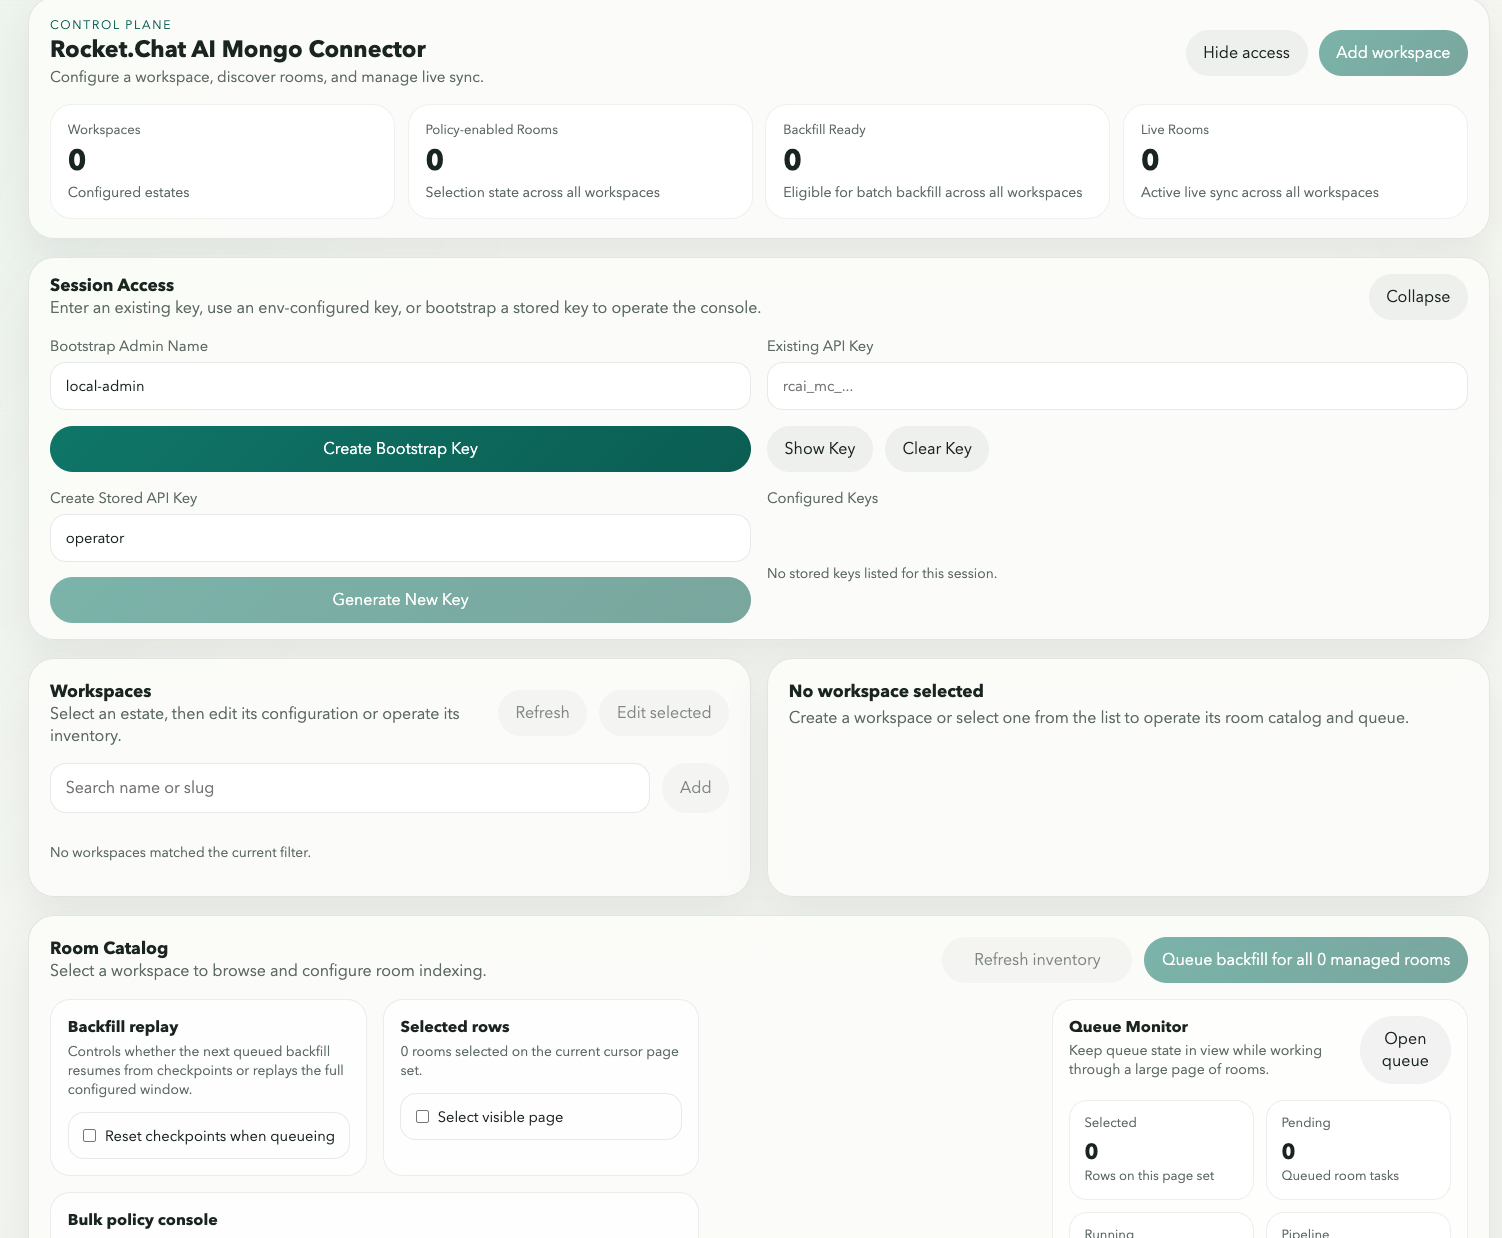
Go to the domain you configured for the Mongo Connector in your browser. The Mongo Connector dashboard opens.
This guide walks you through deploying Rocket.Chat AI pipeline and the Mongo Connector on a k3s Kubernetes cluster using the S3 deployment bundle provided by Rocket.Chat. The deployment bundle contains everything required to install Rocket.Chat AI, including the deployment repository, Helm charts, container images, configuration templates, and the Mongo Connector deployment assets.
Rocket.Chat AI supports multiple deployment options, including Docker, other Kubernetes distributions (such as kind and Minikube), and private container registries like Amazon ECR and GitHub Container Registry (GHCR). This guide focuses on deploying Rocket.Chat AI on a k3s cluster using the S3 deployment bundle.
Part 1 : Deploy Foundation4AI
The first step in setting up your Rocket.Chat AI pipeline is the deploying the Foundation4AI server.
Step 1: Prepare a namespace
Create the target namespace:
kubectl create namespace foundation4aiCreate a
.envfile in the deployment directory forjust:cat > .env <<'EOF' CLUSTER= NAMESPACE=foundation4ai EOFLeave
CLUSTERempty if your current kube context already targets the right cluster.
Step 2: Get your deployment assets
Download and verify the bundle:
curl -L "<signed-s3-url>" -o foundation4ai-customer-bundle.zip
shasum -a 256 foundation4ai-customer-bundle.zip
Verify that the printed checksum matches the value provided by Rocket.Chat support before proceeding.
Extract the bundle and verify the included deployment assets.
unzip foundation4ai-customer-bundle.zip
cd foundation4ai-customer-bundle-*
shasum -a 256 -c checksums.txt
# or, if shasum isn't available:
# sha256sum -c checksums.txt
Prepare the deployment files:
unzip deployment/foundation4ai-deployment.zip \
    -d foundation4ai-deployment
cd foundation4ai-deployment
cp ../examples/foundation4ai.values.example.yaml \
   foundation4ai.values.yaml
Do not start from an older values file. The image names and tags in
foundation4ai.values.yamlmust match the images you loaded or pushed.
The above steps may differ if your image source is different.
Step 3: Load the container images
The deployment bundle includes all required container images as compressed image archives (.tar files). Before deploying, import these images into the container runtime used by your k3s cluster.
This guide assumes your k3s cluster uses the default containerd runtime. If you're using a different container runtime, refer to its documentation for importing container images.
From the root directory of the extracted deployment bundle, import each image into k3s:
# Load the platform and core model images
for image in ../images/*.tar; do
  sudo k3s ctr -n k8s.io images import "$image"
done

# Load the Mongo Connector images
for image in ../connector/images/*.tar; do
  sudo k3s ctr -n k8s.io images import "$image"
done
After the import completes, verify that the images are available in the k3s container runtime.
sudo k3s ctr images ls
Step 4: Configure Foundation4AI
Because images are loaded directly onto the k3s host container runtime, you must configure the charts to look for local images rather than attempting to pull them from the public internet.
Navigate to foundation4ai-deploymentdirectory and open the foundation4ai.values.yaml :
Set the
pullPolicy:Neverfor every image reference.Update the repository for all images to match the imported image names from the bundle.
Enable PostgreSQL:
postgres:
  enabled: true
Set the storageClass:
nats:
  config:
    jetstream:
      fileStore:
        pvc:
          storageClassName: <your-storage-class>
A missing or unbound StorageClass is the most common reason NATS pods stay pending.
Step 5: Configure the secrets file
Copy the secrets template included in the
foundation4ai-deploymentdirectory:cp foundation4ai.secrets.env.template foundation4ai.secrets.envFor the first deployment, set
FOUNDATION4AI_APP_LICENSEto a temporary placeholder such asplaceholder-license. You'll replace this value with your production license after retrieving your system ID later in this guide.Generate the following application secrets required for the deployment with the commands below:
FOUNDATION4AI_APP_MASTER_KEY: This is the master key UUID, used as the API login username.python3 -c "import uuid; print(uuid.uuid4())"FOUNDATION4AI_APP_SECRET: The Fernet key used for internal encryption.python3 -c "from cryptography.fernet import Fernet; print(Fernet.generate_key().decode())"FOUNDATION4AI_APP_MASTER_SECRET: A strong master secret, used as the API login password.python3 -c "import secrets; print(secrets.token_urlsafe(48))"
Step 6: Configure PostgreSQL and Redis
Foundation4AI requires a PostgreSQL database.
If you're using the bundled PostgreSQL deployment, configure the database credentials in foundation4ai.secrets.env:
POSTGRES_DATABASE=foundation4ai
POSTGRES_USER=foundation4ai
POSTGRES_PASSWORD=<strong-password>
POSTGRES_SUPERUSER_PASSWORD=<strong-password>
If you're using an external PostgreSQL instance, update the PostgreSQL connection string instead:
POSTGRES_URL=postgresql://<user>:<password>@<host>:5432/<database>
Set a password for the bundled Redis:
REDIS_PASSWORD=<strong-password>
Step 7: Create the Kubernetes secret
After updating foundation4ai.secrets.env, create the Kubernetes secret:
just create-secretsStep 9: Deploy Foundation4AI
From the
foundation4ai-deploymentdirectory, run:just deploy-coreThe deployment may take several minutes to complete depending on your cluster and network.
Confirm that all Foundation4AI Core resources have been deployed successfully:
kubectl get pods -n foundation4ai
kubectl get pvc -n foundation4ai
After Foundation4AI Core is running, retrieve the unique System ID for your deployment.
just system-idIf you loaded images from an S3 bundle , use this instead:
kubectl -n foundation4ai delete job get-system-id --ignore-not-found

kubectl -n foundation4ai apply -f - <<'EOF'
apiVersion: batch/v1
kind: Job
metadata:
  name: get-system-id
spec:
  template:
    spec:
      restartPolicy: Never
      containers:
        - name: get-system-id
          image: <your-api-image>:<tag>
          imagePullPolicy: Never
          env:
            - name: FOUNDATION4AI_DATABASE_URL
              valueFrom:
                secretKeyRef:
                  name: foundation4ai-secrets
                  key: FOUNDATION4AI_DATABASE_URL
          command: [sh, -c]
          args:
            - |
              for bin in ./foundation4ai /app/foundation4ai_v1 /app/foundation4ai; do
                [ -x "$bin" ] && { "$bin" database migrate && "$bin" license system-id; exit $?; }
              done
              echo "Binary not found" && exit 1
EOF

kubectl -n foundation4ai wait --for=condition=complete job/get-system-id --timeout=120s
kubectl -n foundation4ai logs job/get-system-id | grep -v '^Migrated'
kubectl -n foundation4ai delete job get-system-id
Send your System ID to your Rocket.Chat representative or support team to obtain a Rocket.Chat AI license. You'll receive a license string that is tied to your deployment.
Once you have the license, open
foundation4ai.secrets.envand update the license:FOUNDATION4AI_APP_LICENSE=<your-license>Once you've updated
foundation4ai.secrets.env, create the Kubernetes secret:just create-secretsVerify that the secret was created succesfully:
kubectl get secret foundation4ai-secrets -n foundation4aiReapply the secrets and deploy:
just create-secrets
just deploy-core
just deploy
Verify the application pods:
kubectl get pods -n foundation4ai
kubectl get deploy -n foundation4ai
kubectl get jobs -n foundation4ai
You should see:
API server pods running
worker pods running
dashboard pod running
migration, license, and admin-key jobs completed
Access Foundation4AI
After the deployment completes, access the Foundation4AI API and dashboard using one of the following methods:
Option 1: Ingress
If your cluster uses an ingress controller,
Open the
foundation4ai.values.yamland edit the ingress configuration:ingress: enabled: true className: "nginx" # or "traefik", depending on your controller annotations: {} hosts: - host: foundation4ai.example.com paths: - path: / pathType: Prefix tls: - secretName: foundation4ai-tls hosts: - foundation4ai.example.com httpRoute: enabled: falseUpdate the
className,annotations,hostnames, andTLS settingsto match your environment.Redeploy Foundation4AI:
just deploy
After the deployment completes, access Foundation4AI using the hostname configured in the ingress section:
API: http://<foundation4ai.example.com>
Dashboard: https://<foundation4ai.example.com>/dashboard
Replace <foundation4ai.example.com> with your configured hostname.
Option 2: Portforwarding
To expose Foundation4AI internally for quick tests, run these commands on seperate terminals:
kubectl -n foundation4ai port-forward svc/foundation4ai-api-server 8000:80
kubectl -n foundation4ai port-forward svc/foundation4ai-dashboard 3000:80
Once both commands are running, access:
API:
http://localhost:8000Dashboard:
http://localhost:3000
Option 3: Gateway API HTTPRoute
If your cluster uses the Kubernetes Gateway API,
Open the
foundation4ai.values.yamland enable the httpRoute configuration instead of ingress:ingress: enabled: false httpRoute: enabled: true annotations: {} parentRefs: - name: foundation4ai sectionName: https hostnames: - foundation4ai.example.comThe referenced Gateway must already exist,
parentRefs.namemust match its name, andsectionNamemust match its HTTPS listener name.After updating the values file, redeploy Foundation4AI.
just deploy
After the deployment completes, access Foundation4AI using the hostname configured in the httpRoute section:
API: http://<foundation4ai.example.com>
Dashboard: https://<foundation4ai.example.com>/dashboard
Replace <foundation4ai.example.com> with your configured hostname.
Log in to the Foundation4AI dashboard
Open the Foundation4AI dashboard in your browser:
If you're using port forwarding, navigate to
http://localhost:3000.If you configured an ingress or Gateway API, use the hostname you configured for the dashboard.
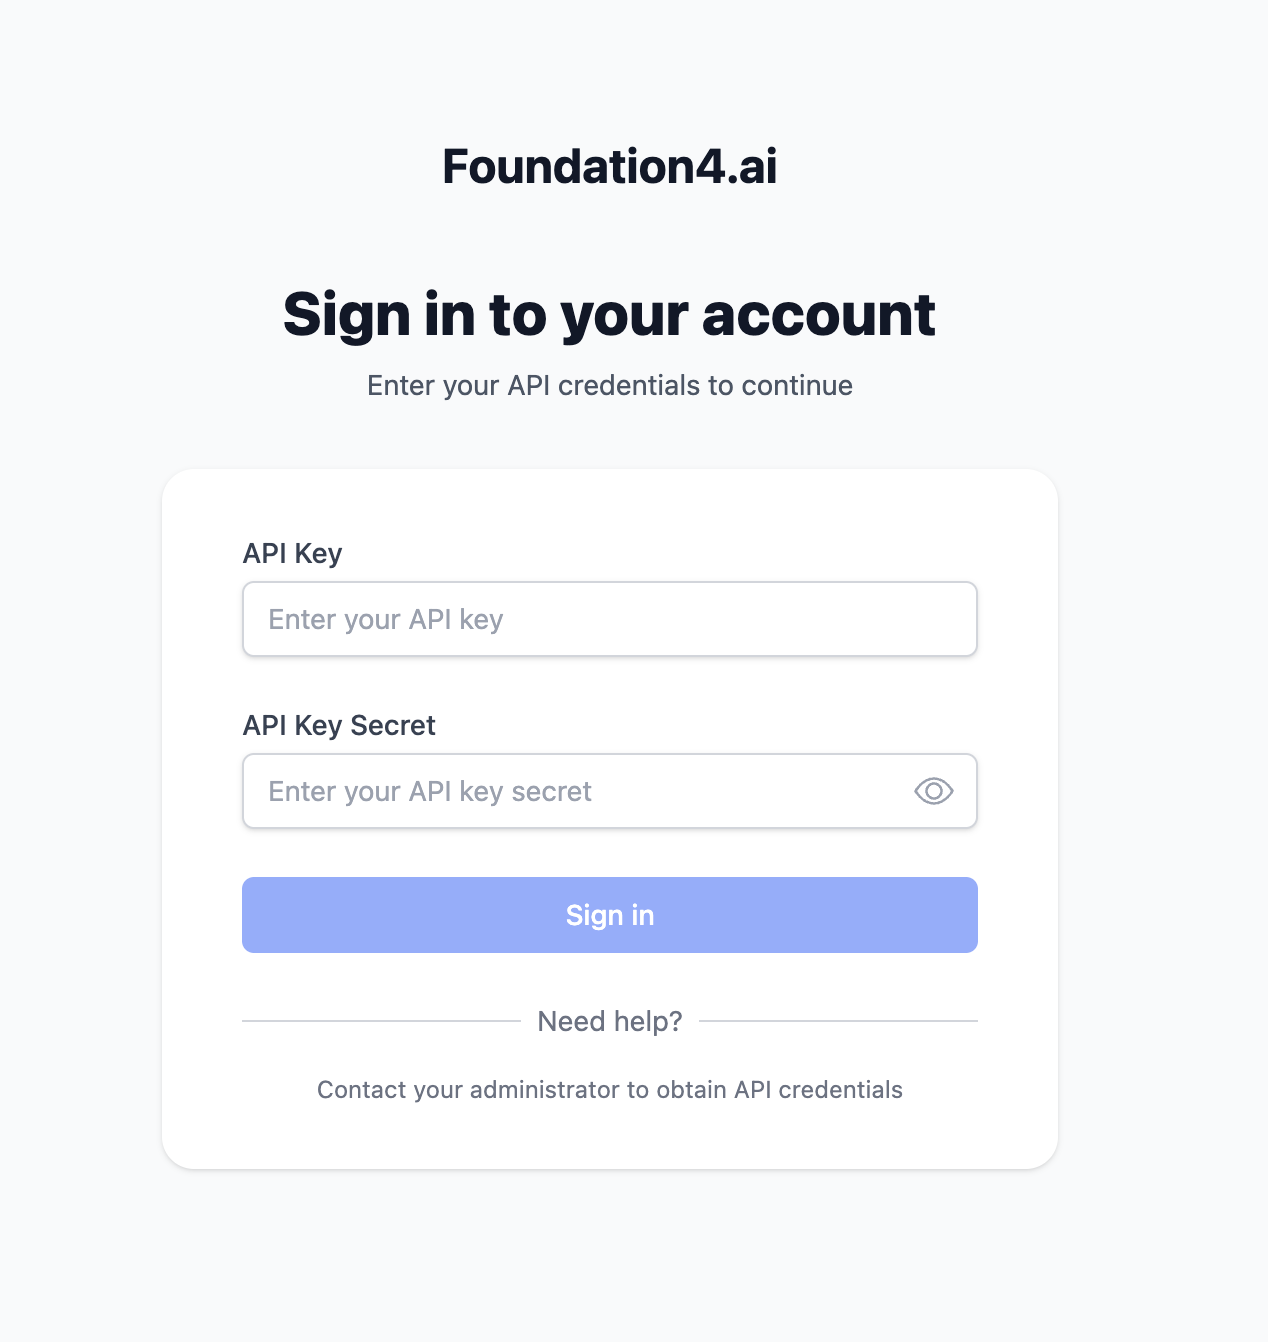
Log in using the Master API Key and Master Secret generated during Step 5. After signing in, you should see the Foundation4AI dashboard.
Part 2 : Deploy Rocket.Chat Mongo Connector
Rocket.Chat AI pipeline is now deployed and ready to process documents. The next steps configure the Rocket.Chat Mongo Connector to ingest conversations into Foundation4AI.
If you received the S3 customer bundle, use the bundled connector chart and images. This avoids separate GHCR chart/image access and gives you a single handoff artifact. The S3 bundle contains:
connector/charts/rocketchat-ai-mongo-connector-0.1.1-0504c58.tgz
connector/images/rocketchat-ai-mongo-connector-api_sha-0504c58.tar
connector/images/rocketchat-ai-mongo-connector-web_sha-0504c58.tar
connector/examples/rocketchat-ai-mongo-connector.values.s3-local-demo.yaml
connector/examples/rocketchat-ai-mongo-connector.values.registry-import.yaml
connector/examples/rai-mongo-connector.secret.example.yaml
Step 1: Import the connector images
for image in connector/images/*.tar; do
  sudo k3s ctr -n k8s.io images import "$image"
done
Step 2: Write the connector values file
This path uses SQLite for the connector's control-plane database (matches the single-node setup) and one replica each for the API and web services .SQLite doesn't support multiple API pods writing to it at once.
Create connector-values.yaml:
fullnameOverride: rai-mongo-connector

api:
  replicaCount: 1                    # don't scale past 1 — SQLite can't take concurrent writers
  image:
    repository: ghcr.io/rocketchat/rocketchat-ai-mongo-connector-api
    tag: sha-0504c58
    pullPolicy: Never
  env:
    databaseBackend: sqlite
    dbPath: /data/control_plane.db
    logLevel: INFO
  secretEnv:
    create: true
    values:
      RAI_MONGO_CONNECTOR_API_KEY: <enter-your key>                  # required
      RAI_MONGO_CONNECTOR_DATA_ENCRYPTION_KEY: <enter-your key>  # protects stored Mongo/pipeline credentials
  persistence:
    enabled: true                    # backs the SQLite file
    size: 20Gi
    mountPath: /data

web:
  replicaCount: 1
  image:
    repository: ghcr.io/rocketchat/rocketchat-ai-mongo-connector-web
    tag: sha-0504c58
    pullPolicy: Never
  api:
    url: /api                        # same-origin browser path, proxied internally to the API service

ingress:
  enabled: false
Enter RAI_MONGO_CONNECTOR_API_KEY and RAI_MONGO_CONNECTOR_DATA_ENCRYPTION_KEY .
Step 3: Install the chart
helm install rai-mongo-connector \
  connector/charts/rocketchat-ai-mongo-connector-0.1.1-0504c58.tgz \
  -n foundation4ai \
  --create-namespace \
  -f connector-values.yaml
Step 4: Verify the connector pods
kubectl get pods -n foundation4ai -l app.kubernetes.io/instance=rai-mongo-connectorYou should see one API pod and one web pod running.
Important SQLite Upgrade Note
When SQLite is backed by a ReadWriteOnce volume, rolling updates can fail with volume multi-attach errors if the old API pod is still attached to the PVC.
Operationally safe approach:
If your chart version supports it, let the chart use its built-in Recreate strategy for SQLite-backed API deployments
If you are still on an older release or doing a manual rollout, scale the API deployment to 0, wait for the old pod to terminate, then upgrade
That causes brief downtime, but it avoids PVC attach conflicts.
Step 5: Access the Mongo connector
Expose the connector using port forwarding.
kubectl port-forward svc/mongo-connector-web 8081:80 -n foundation4aiOpen your browser and navigate to: http://localhost:8081. The Mongo Connector setup page should appear.
Next steps
You've successfully deployed the Rocket.Chat AI pipeline server and Mongo Connector. The next step is to connect the Mongo Connector to your Rocket.Chat workspace.
Continue to Index Workspace Data with Mongo Connector to connect your workspace and choose which rooms to index. After the initial indexing is complete, your workspace data is ready for AI search, summaries, and other AI features.