.svg)
With Rocket.Chat Voice configured in your workspace, you can now make and receive voice calls directly within Rocket.Chat. Whether you’re connecting with a teammate or transferring an existing call to another user, this guide explains how workspace users can get the most out of the voice calling features in Rocket.Chat.
Configure voice calls on mobile 
Available on: Rocket.Chat 8.4.0+ | Mobile app 4.72.0+
Rocket.Chat supports voice calls on mobile, allowing users to make and receive calls directly from the mobile app.
To use voice calls on mobile devices, workspace administrators must first enable mobile ringing for the workspace. After it is enabled, users can choose whether to allow voice calls on their mobile devices through their notification preferences.
Enable mobile ringing
Admins must enable mobile ringing across the workspace before users can receive voice calls on mobile.
Go to Manage > Workspace > Settings > Team Voice Calls (VoIP) > WebRTC Settings.
Enable Mobile Ringing.
Click Save Changes.
Configure mobile ringing preference
Once an admin has enabled mobile ringing on the workspace, each user can choose whether to allow voice calls on their mobile device. This setting is managed from the web or desktop app.
Click your avatar in the top corner.
Under Account, select Preferences.
Navigate to the Notifications section.
Enable or disable Enable Mobile Ringing.
Click Save Changes.
Mobile ringing is enabled by default for all users once the workspace setting is turned on. Users can disable this preference at any time. When disabled, users cannot receive any voice calls on their mobile device.
Starting a call
You can easily start a voice call with any user by using the workspace dialpad or from a direct message (DM).
Option 1: Start a call using the dialpad
Click the New voice call icon
 from the top main menu.
In the call window pop-up, select the username or type the extension number you wish to dial.
Click the Device Settings icon
 to review and adjust your audio and speaker preferences before dialing.
Finally, click the Call button.
Option 2: Start a call from DM
Open a direct message (DM) with the user you want to call.
Click the Voice Call icon
 in the room menu bar to start the call. Alternatively, click the Voice Call icon from the user’s profile card.
A call window pops up with the receiver’s name already pre-filled.
Click the Device Settings icon
to review and adjust your audio and speaker preferences before dialing.Finally, click the Call button.
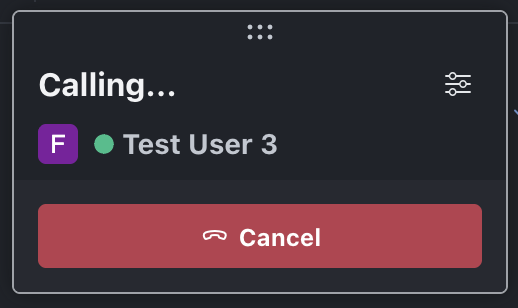
When you initiate a call:
A call widget appears at the top of your workspace.
The call widget rings the recipient and shows the call status and connection progress.
Outgoing call
You can start a voice call with any user from the main menu or directly from a room.
Option 1: Start a call from the main menu
Tap the hamburger icon next to the workspace name.
From the side panel, select Voice Call.
In the call window, enter the username or extension number you wish to dial.
Tap Call.
Option 2: Start a call from a room
Tap the call button in the room menu at the top.
Enter the username you want to call. For direct messages, this field is pre-filled with the user you are currently chatting with.
Tap Call.
When you initiate a voice call from the mobile app, the call screen opens and displays the recipient’s name and the current call status.
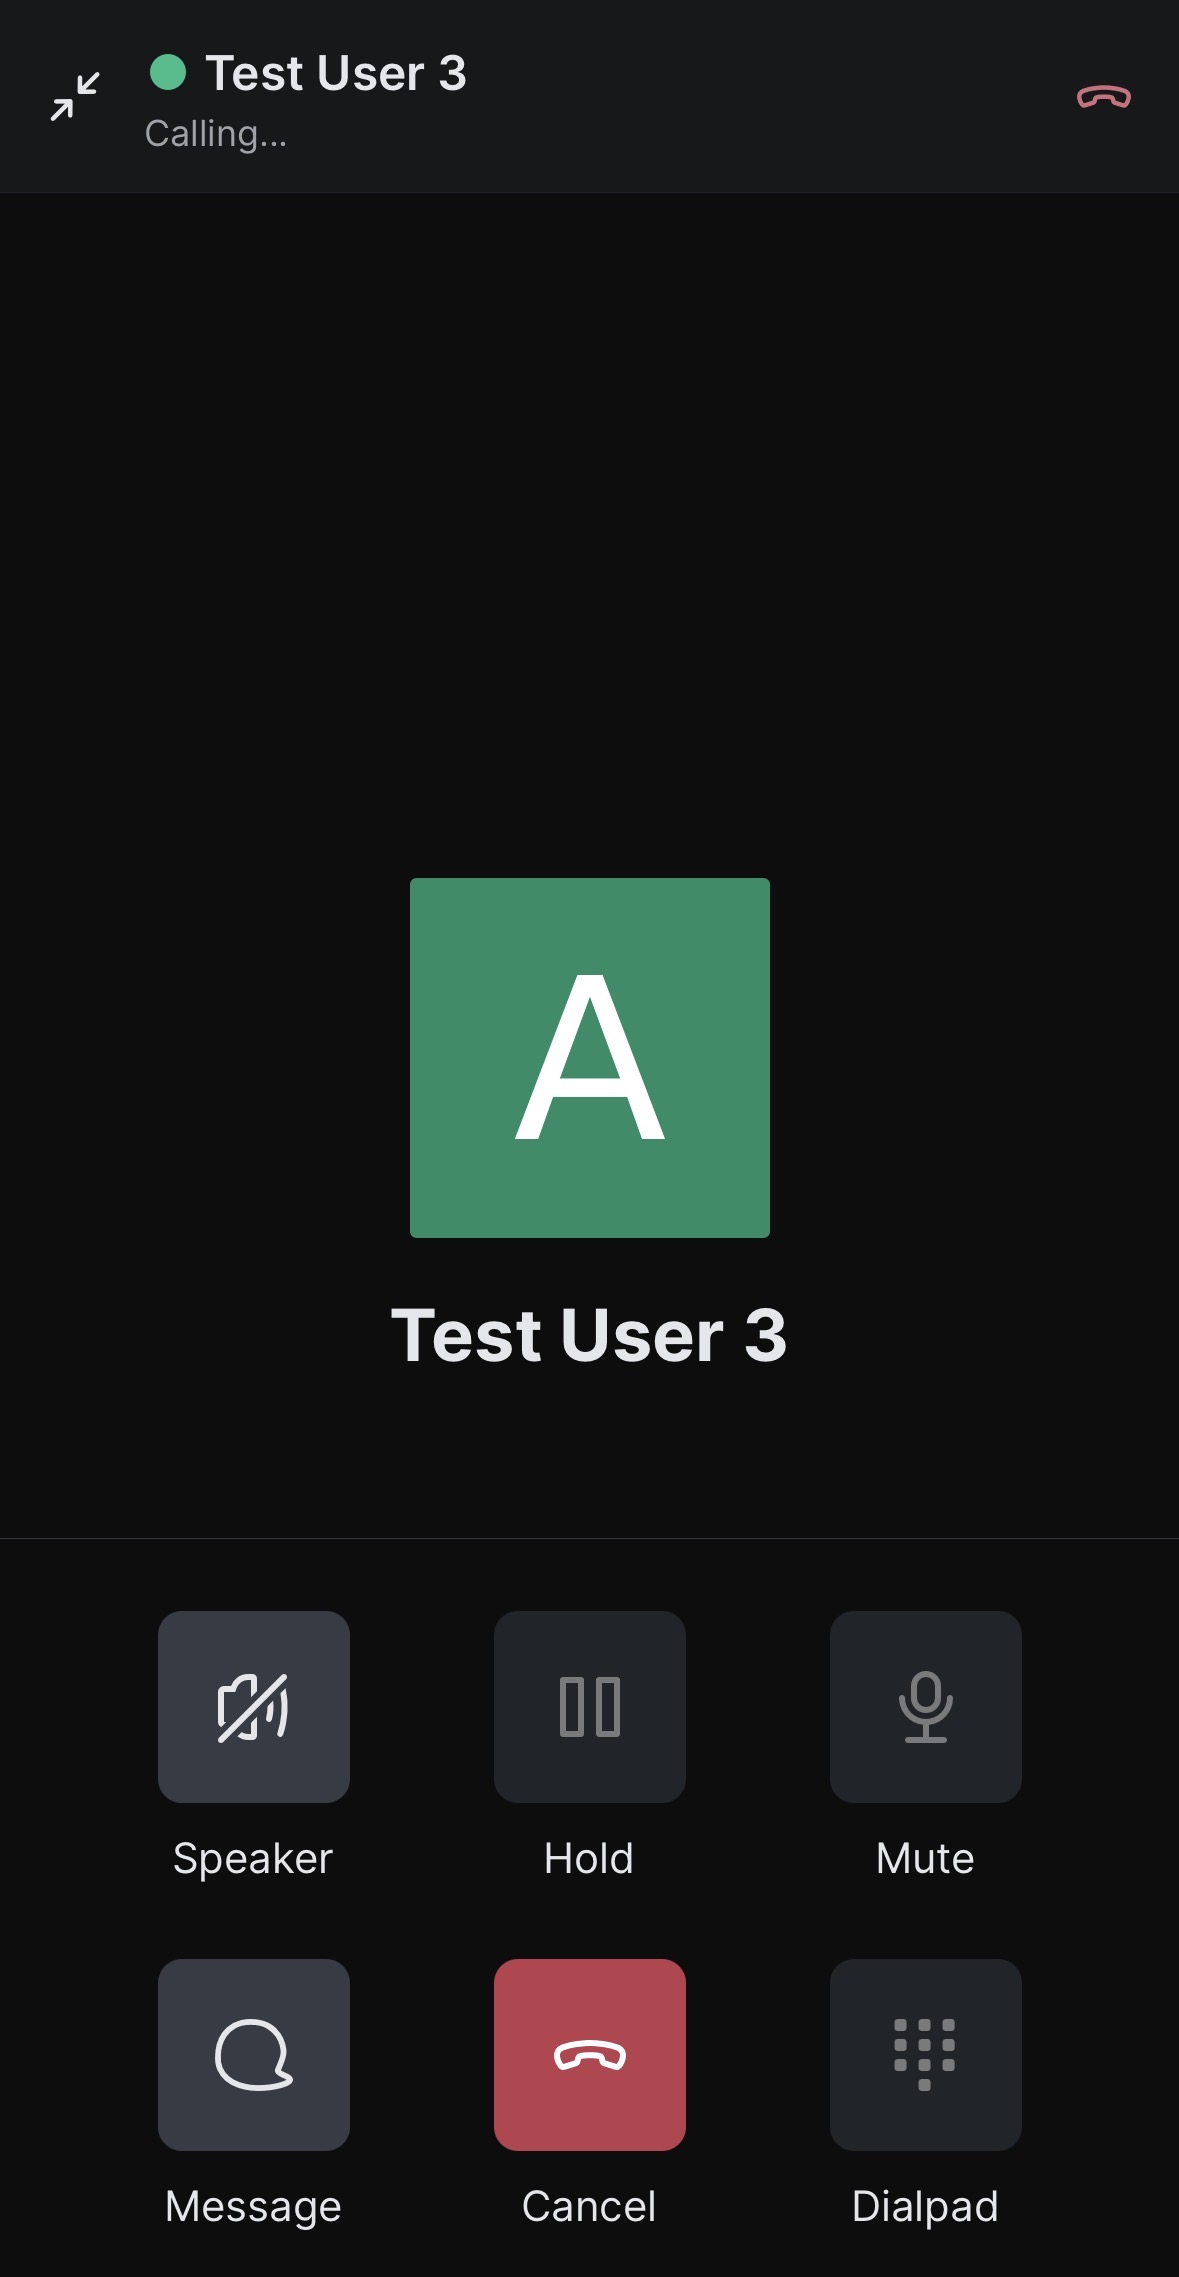
Outgoing call mobile
Before initiating a call, you can check the recipient’s presence status (online, offline, busy, or away) in the call window to see whether they’re currently available to recieve the call.
Receiving a call
When you receive a call in Rocket.Chat, a call widget rings at the top of your workspace to notify you. It displays the caller’s name and provides options to handle the call:
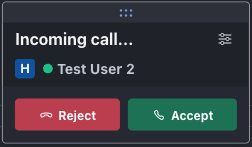
Incoming call
Click the Accept icon to answer and begin the conversation.
Click the Decline icon to reject the call.
You can drag the call widget anywhere on your screen while you’re working.
When you receive a voice call in the mobile app, a push notification appears on your device with the caller’s name and options to respond to the call. You can choose to answer or decline the call.
If your device is locked, the incoming call notification is displayed on the lock screen, allowing you to respond without opening the app.
Call controls
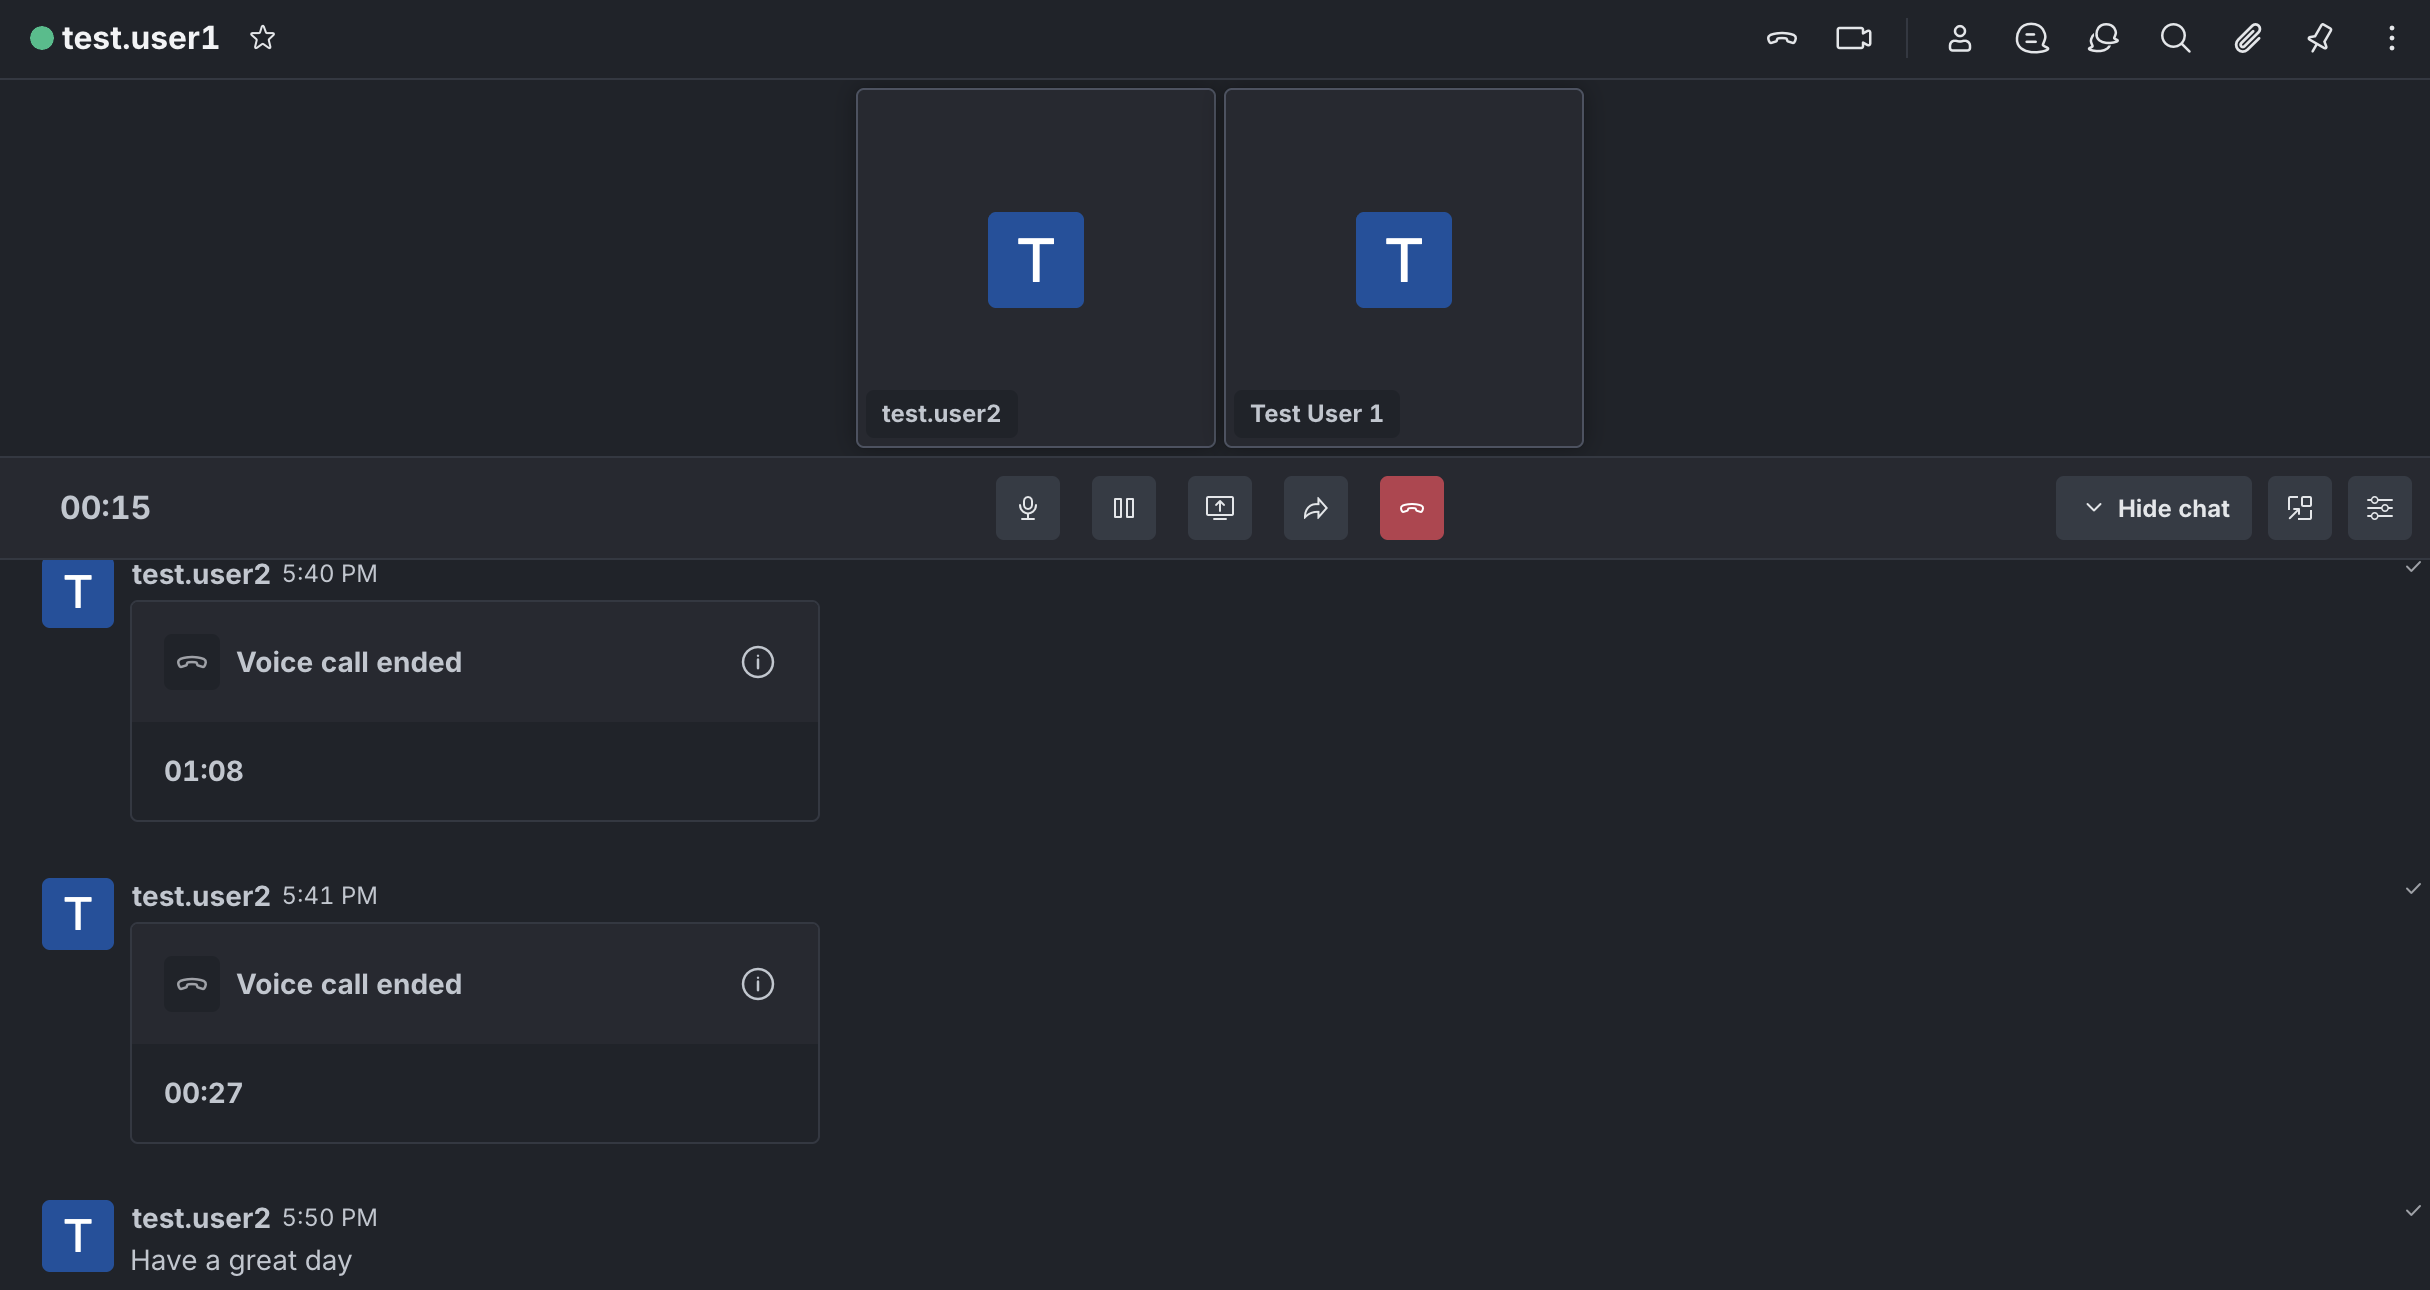
When you are having a voice call inside a DM room, the in-room view is displayed. The following screenshot shows an example:
Outside DM rooms, the call widget is displayed. The following screenshot shows an example:
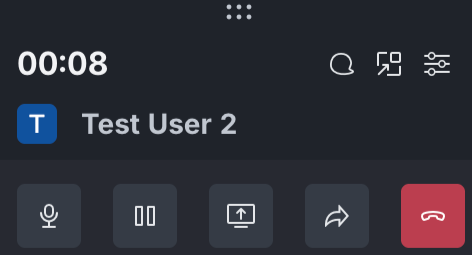
The following table describes several controls that help you manage the conversation effectively.
Control | Description |
|---|---|
Mute/Unmute | Toggles your microphone on or off. Mute yourself when you need privacy or when there is background noise. |
Hold | Temporarily pauses the call without disconnecting. The other user is placed on hold. |
Transfer call | Redirect the current call to another available user in your workspace. Refer to Transfer a call section for more details. |
Audio control | Opens the device settings menu, allowing you to select and configure your preferred microphone and speaker. |
End call | Disconnect from the current call. |
Hide chat | The Hide chat option collapses the chat room and expands the call screen. To view the chat room again, click the Show chat button |
Direct message | Return to the direct message with the user on the current call. |
Share screen | Refer to the screen sharing section for details. |
Open in new window | Open the call in a separate window while keeping all call controls available. This allows you to continue reading messages or navigating between rooms in the main Rocket.Chat window during the call. To move the call back to the main Rocket.Chat window, use either of the following options:
|
.png)
During a voice call on the mobile app, you can use the available call controls to manage the conversation and your audio settings.
.jpg)
The following table describes several controls that help you manage the conversation effectively.
Control | Description |
|---|---|
Speaker | Put the call in loud speaker mode. |
Hold | Temporarily pauses the call without disconnecting. The other user is placed on hold. |
Mute/Unmute | Toggles your microphone on or off. Mute yourself when you need privacy or when there is background noise. |
Message | Return to the direct message with the user while the call remains active. |
End call | Disconnect from the current call. |
Dailpad | Open the dial pad to enter numbers during the call. |
Transferring a call
The transfer feature allows you to redirect the current call to a team member who is better equipped to assist with the conversation.
To transfer the call to another user,
Click the transfer icon
 from the call control.
In the transfer modal, enter the username or number you want to transfer the call to.
Click Hangup and transfer call.
Once the transfer is initiated, the call ends for you and immediately begins ringing for the new recipient.
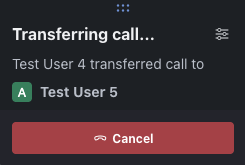
Outgoing call transfer
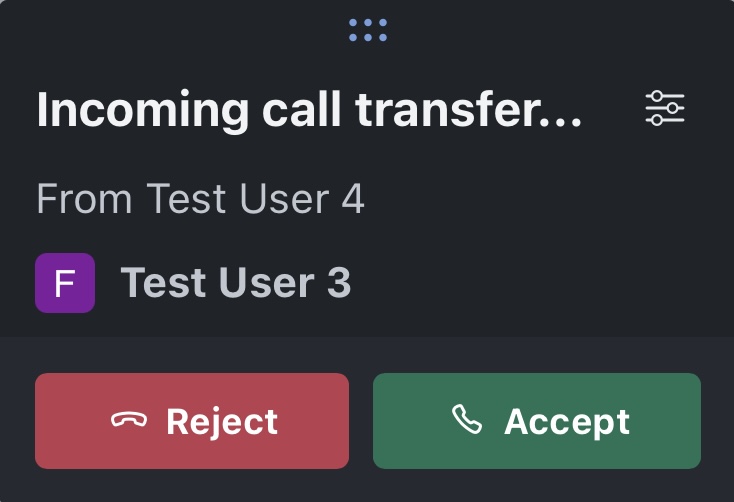
Incoming call transfer
Call transfer is not supported on the mobile app.
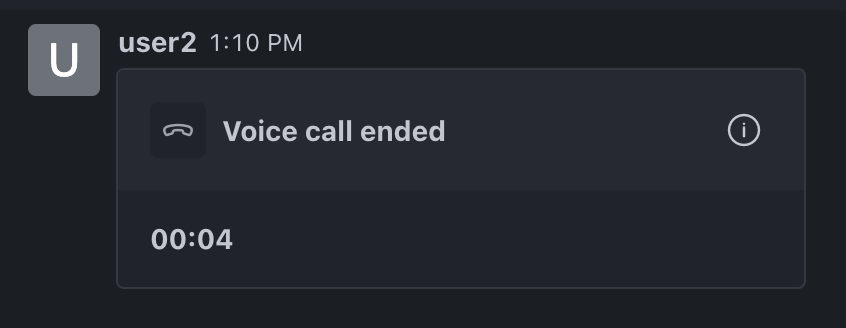
In-chat call details
Immediately after a voice call ends, a summary is automatically posted to the direct message (DM) room associated with the call. This record includes the following details:
The user who initiated the call.
The total call duration.
The final outcome of the call to know if the call was successfully completed, transferred to someone else, unanswered, or failed because of an error.
The call info button
 gets more details about the call. Click the call info button to view the details.
Access voice call info and history
To view your full voice call history:
Click the Call History icon
 from the main menu.
The call history list displays all voice calls associated with your account.
Each call entry shows the following information:
Field | Description |
|---|---|
Contact | The username or contact involved in the call. |
Type | Indicates if the call was incoming or outgoing. |
Status | The final outcome of the call (Ended, Transferred, Not Answered, or Failed). |
Date | When the call was initiated. |
Quick actions | Click the kebab menu (⋮) next to any record to access these options:
|
Search and filter call history
Searching: Use the search bar to find calls by contact name.
Filtering: Narrow down the call history list using these filter options:
Filter options
Description
Direction
Sort the call history by the direction of the call.
Outbound: Outgoing calls that you initiated.
Inbound: Incoming calls made to you.
All Directions: Both outbound and inbound calls.
Status
Filter call history by the call status.
Ended: The call completed successfully.
Transferred: The call was transferred to another user or contact.
Not answered: The call was not answered.
Failed: The call failed due to an error.
View voice call info
The Call info panel provides more details about a specific call. There are two ways to access the Call info panel:
From call history: Click on any call record in your call history list.
From a DM: Click the call info icon
on the call summary card from the DM.
Once the panel is open, you will find the following information:
Contact: The contact or username of the user involved.
Type: Specifically identifies the call as an Incoming Voice Call or Outgoing Voice Call.
Outcome: The final call status (e.g., Successfully Ended, Transferred, Not Answered, or Failed).
Timestamp: The precise date and time the call occurred.
Call ID: A unique alphanumeric identifier for the specific call.
Directly from the bottom of the Call info panel, you can perform these quick actions:
Direct message: Instantly enter the DM room with the contact.
Call: Start a new voice call with the user.
Screen sharing
With Rocket.Chat version 8.3.0, voice calls include screen sharing (in beta) for improved team collaboration. By default, screen sharing is enabled in the workspace. Admins can enable or disable the screen sharing setting from Manage > Workspace > Settings > Team voice calls (VoIP) > WebRTC Settings.
To share your screen during a call, click the Share screen button  from the call controls.
Once a user starts sharing their screen, they have the following screen options:
Pin the shared screen: Click the Pin icon
 at the bottom-right to expand the screen and keep it in view. Click the Unpin icon
  to go back to the default screen view.
Stop sharing the screen: Click the Stop sharing button on the shared screen, or click the Stop sharing screen icon
.png) from the call controls.
from the call controls.
To view the shared screen in full-screen mode, hide the chat and pin the screen.
Screen sharing stops automatically if the call is transferred.
The following screenshot shows an example of screen sharing in progress in a voice call:
.png)
From Rocket.Chat 8.5, users viewing a shared screen can use the Open in room button from the call widget to jump to the direct message room without interrupting the call or screen sharing.
Screen sharing is not supported on mobile browsers, the mobile app, or external calls through SIP.
With Rocket.Chat Voice, you have a powerful tool that improves team coordination and collaboration, making it easier to stay connected and responsive. Enjoy the benefits of integrated voice calling in Rocket.Chat!