Email configuration is required to send emails to workspace users for notifications and account verification. It's also needed when you use the Mailer and Email Inboxes features to communicate with people inside and outside your organization. This page guides you through configuring SMTP and customizing email templates and styling for your Rocket.Chat workspace.
To open the email settings, go to Manage → Workspace → Settings → Email.
Configure SMTP settings
SMTP configuration is only needed for self-managed workspaces. Cloud-hosted workspaces come with SMTP pre-configured.
Self-managed workspaces are deployed on your own infrastructure. Cloud-hosted workspaces use Rocket.Chat's cloud-hosting service.
On the Email settings page, expand the SMTP section and update the following fields:
Field | Description |
|---|---|
Protocol | Select the |
Host | Your SMTP server hostname, for example, |
Port | The SMTP port. Most modern secured SMTP servers use |
IgnoreTLS | Enable to skip TLS (Transport Layer Security). Leave disabled unless your provider explicitly requires it. |
Pool | Enable to reuse pooled connections. When disabled, a new connection is opened for every email. |
Username | Your SMTP username. |
Password | Your SMTP password. |
From Email | The address that appears as the sender on all outgoing emails. |
Click Save changes. To verify the configuration, click Send a test mail to my user, a successful test means an email lands in your inbox. If something goes wrong, check the workspace logs for the cause.
Configure email behavior and styling
The remaining accordions on the Email settings page control how emails are sent, what they contain, and how they look. You can update these in any order.
Direct Reply
Configures the inbox Rocket.Chat reads to capture user replies to email notifications, so users can respond to a message directly from their inbox instead of opening the workspace.
This section has its own dedicated guide because the setup involves IMAP credentials and connection details. See Configure Email Direct Reply for the full walkthrough.
Privacy
Controls how much message content is included in outgoing email notifications and how replies are routed.
Show Message in Email Notification: When enabled, the message body is included in notification emails. Disable to send only that a message was received, without its content.
Add Sender to Reply-To: When enabled, the original message sender is added to the
Reply-Toheader so replies go directly to them.
Style
Controls the visual styling applied to all emails.
Send only plain text emails: When enabled, all outgoing emails are plain text with no HTML or styling.
Email Style: Custom CSS applied to every email. Use this to match emails to your brand.
Header and Footer
Defines the header and footer used across all emails.
Header: HTML inserted at the top of every email.
Footer: HTML inserted at the bottom of every email.
Footer When Direct Reply is Enabled: A separate footer used when direct reply is enabled, typically used to instruct the user how to reply.
Subject
Defines the subject lines used for notification emails. Each field accepts the following placeholders:
Placeholder | Description |
|---|---|
| The workspace (application) name. |
| The workspace URL. |
| The username of the user triggering the notification. |
| The room name. |
Update the following fields:
Direct Message Email Subject: Subject used when a user receives a direct message notification. Default:
[[Site_Name]] You have been direct messaged by [User]Mention Email Subject: Subject used when a user is mentioned in a room. Default:
[[Site_Name]] You have been mentioned by [User] in #[Room]Mention All Email Subject: Subject used for
@allmentions in a room. Default:[User] has posted a message in #[Room]
Offline Message
Use Deep Link URL Format: When enabled, links in emails use Rocket.Chat's deep-link format so they open the desktop or mobile app when available, falling back to the browser otherwise.
Define email templates
Rocket.Chat sends pre-defined emails when specific events occur, account registration, password reset, email verification, and so on. You can override the subject and body of each template, or leave them as defaults.
Each template accordion contains:
Subject: The subject line used for that email.
Body: The HTML body. Default content is pre-filled and can be edited freely.
Tips for editing templates:
Available placeholders are listed at the bottom of the field you're editing.
Wrap strings in
{ }to use Rocket.Chat's internationalization engine.Use placeholders like
[Site_Name]to inject dynamic values — for example,[Site_Name]is replaced with your workspace name.
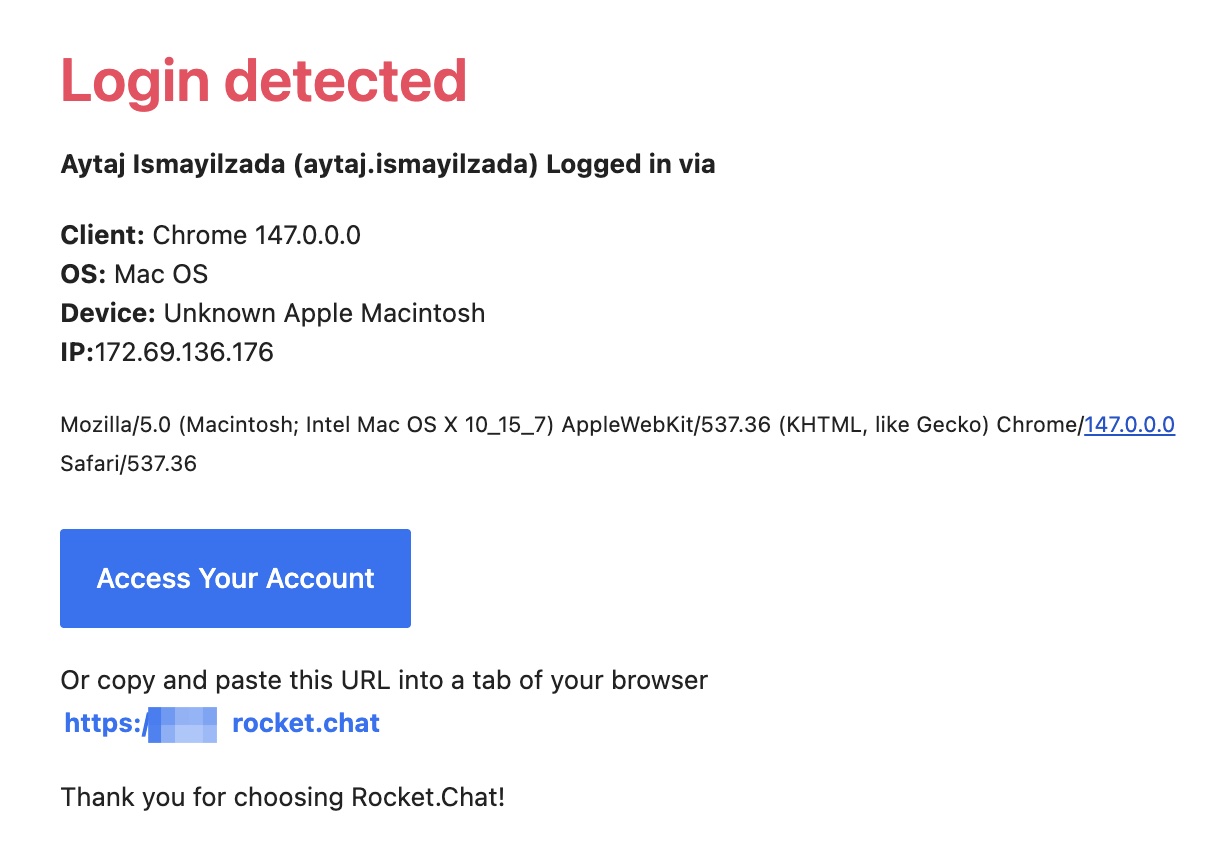
Device Management - Login Detected
Sent when a workspace login is detected from a new device.
Placeholder | Description |
|---|---|
| Heading displayed at the top of the email. |
| The user's name and username, followed by |
| Browser used to access the workspace. |
| Operating system. |
| Device information. |
| IP address used. |
| Date and time of access. |
| Additional browser and device details. |
| Button linking to the workspace. |
| Plain-text fallback link below the button. |
| Closing line. |
Default body HTML:
<h2 class="rc-color">{Login_Detected}</h2>
<p><strong>[name] ([username]) {Logged_In_Via}</strong></p>
<p><strong>{Device_Management_Client}:</strong> [browserInfo]<br>
<strong>{Device_Management_OS}:</strong> [osInfo]<br>
<strong>{Device_Management_Device}:</strong> [deviceInfo]<br>
<strong>{Device_Management_IP}:</strong>[ipInfo]<br>
<strong>{Date}:</strong> [date]</p>
<p><small>[userAgent]</small></p>
<a class="btn" href="[Site_URL]">{Access_Your_Account}</a>
<p>{Or_Copy_And_Paste_This_URL_Into_A_Tab_Of_Your_Browser}<br>
<a href="[Site_URL]">[SITE_URL]</a></p>
<p>{Thank_You_For_Choosing_RocketChat}</p>
Example email:
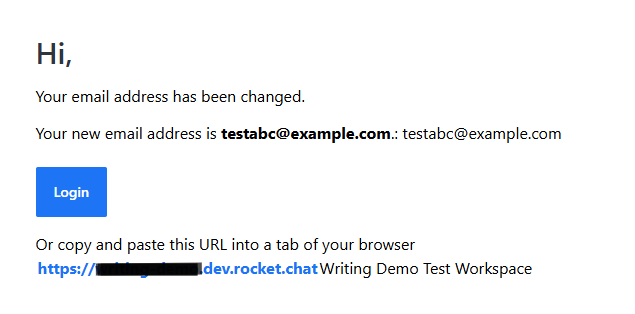
Email Address Changed
Sent when a user's email address is updated.
Placeholder | Description |
|---|---|
| The user's new email address. |
| The workspace name. |
| The workspace URL. |
Default body HTML:
<h2>{Hi},</h2>
<p>{Your_email_address_has_changed}</p>
<p>{Your_new_email_is_email}: [email]</p>
<a class="btn" target="_blank" href="[Site_URL]">{Login}</a>
<p>{Or_Copy_And_Paste_This_URL_Into_A_Tab_Of_Your_Browser}<br>
<a href="[Site_URL]">[SITE_URL]</a>[Site_Name]</p>
Example email:
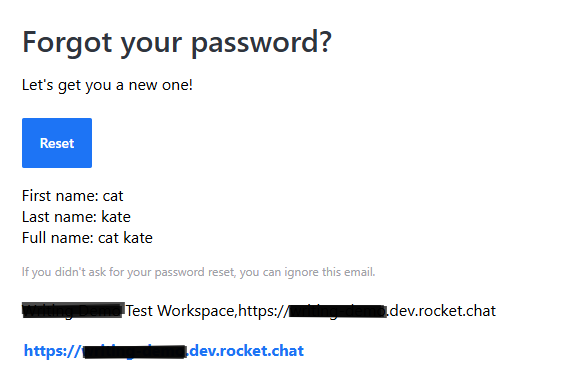
Forgot Password
Sent when a user clicks Forgot password on the login screen, prompting them to reset.
Placeholder | Description |
|---|---|
| The password reset URL. |
| Full name, first name, last name. |
| The user's email address. |
| The workspace name. |
| The workspace URL. |
Default body HTML:
<h2>{Forgot_password}</h2>
<p>{Lets_get_you_new_one_}</p>
<a class="btn" href="[Forgot_Password_Url]">{Reset}</a>
<p>First name: [fname]<br>
  Last name: [lname]<br>
  Full name: [name]</p>
<p class="advice">{If_you_didnt_ask_for_reset_ignore_this_email}</p>
<p>[Site_Name],[Site_URL]</p>
<a href="[Site_URL]">[SITE_URL]</a>
Example email:
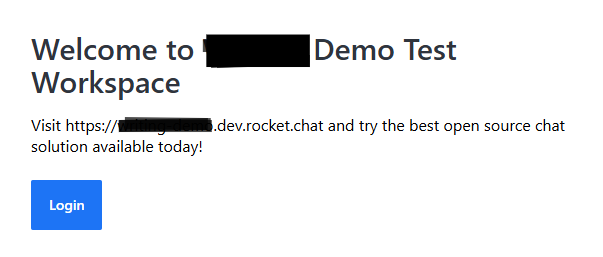
Invitation
Sent when a user is invited to join the workspace.
Placeholder | Description |
|---|---|
| The invited user's email address. |
| The workspace name. |
| The workspace URL. |
Default body HTML:
<h2>{Welcome_to}</h2>
<p>{Visit_Site_Url_and_try_the_best_open_source_chat_solution_available_today}</p>
<a class="btn" href="[Site_URL]">{Join_Chat}</a>
Example email:
Password Changed
Sent when an admin resets a user's password. Admins can trigger this by editing a user and selecting Set password randomly and send by email in the Users tab. See Manage Workspace Users for the full flow.
Placeholder | Description |
|---|---|
| The user's temporary password. |
| Full name, first name, last name. |
| The user's email address. |
| The workspace name. |
| The workspace URL. |
Default body HTML:
<h2>{Hi},</h2>
<p>{Your_password_was_changed_by_an_admin}</p>
<p>{Your_temporary_password_is_password}</p>
<a class="btn" target="_blank" href="[Site_URL]">{Login}</a>
Example email:
.png)
Registration
Sent to new users when they self-register on the workspace.
Placeholder | Description |
|---|---|
| The user's full name, first name, and last name, respectively. |
| The user’s email address. |
| The workspace name. |
| The workspace URL. |
Default body HTML:
<h2>{Welcome_to}</h2>
<p>{Visit_Site_Url_and_try_the_best_open_source_chat_solution_available_today}</p>
<a class="btn" target="_blank" href="[Site_URL]">{Login}</a>
Example email:
Registration via Admin
Sent when an admin registers a user on the workspace on their behalf.
Placeholder | Description |
|---|---|
| The user's full name, first name, and last name, respectively. |
| The user’s email address. |
| The workspace name. |
| The workspace URL. |
Default body HTML:
<h2>{Welcome_to}</h2>
<p>{Visit_Site_Url_and_try_the_best_open_source_chat_solution_available_today}</p>
<a class="btn" target="_blank" href="[Site_URL]">{Login}</a>
Example email:
.png)
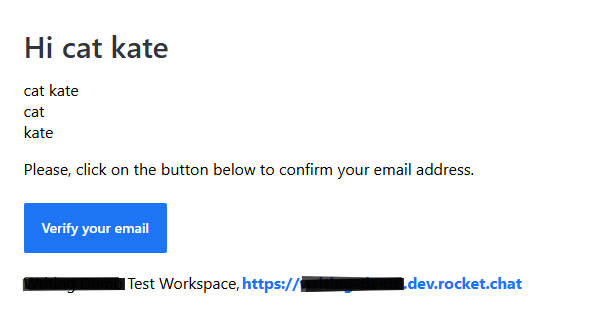
Verification
Sent when a user needs to verify their email address, for example, after updating it.
Placeholder | Description |
|---|---|
| The email verification URL. |
| Full name, first name, last name. |
| The user's email address. |
| The workspace name. |
| The workspace URL. |
Default body HTML:
<h2>{Hi_username}</h2>
<p>[name]<br>[fname]<br>[lname]</p>
<p>{Verification_email_body}</p>
<a class="btn" target="_blank" href="[Verification_Url]">{Verify_your_email}</a>
<p>[Site_Name],<a href="[Site_URL]">[Site_URL]</a></p>
Example email:
Next steps
Once your SMTP and email settings are configured, you can take any of the following actions:
Invite users: Send email invites to bring new users into the workspace.
Email Direct Reply: Let users reply to notifications straight from their inbox.
Mailer: Send broadcast emails to workspace users.
Email Inboxes: Connect with external customers and citizens through a shared inbox.
Two-Factor Authentication: Enable 2FA so users can receive TOTP codes by email.